
How to Evaluate a Virgin Hair Sample Before Placing a Bulk Order
A paid sample is only as useful as the evaluation you perform on it. This guide provides a structured approach to physical sample inspection, documentation, and confirming specifications before a bulk order.
Ordering a paid sample before committing to a bulk purchase is standard practice in professional hair procurement. But the sample itself is only as useful as the evaluation you conduct on it. A structured approach to sample inspection gives you the information needed to make a grounded buying decision and provides a written reference if a dispute arises later.
This guide covers the steps for evaluating a virgin hair sample physically, documenting your findings, and confirming what should be agreed before proceeding to a bulk order.
Preparing for the Evaluation
Before examining the sample, have the supplier's listing or written specification in front of you. Your goal is not only a general quality assessment — it is a comparison between the physical product and what was represented.
Prepare a clean, well-lit work surface, a fine-tooth comb, a clean towel, and optionally a small scale and spray bottle of clean water.
Step 1: Visual Inspection (Dry)
Begin by examining the sample before handling it:
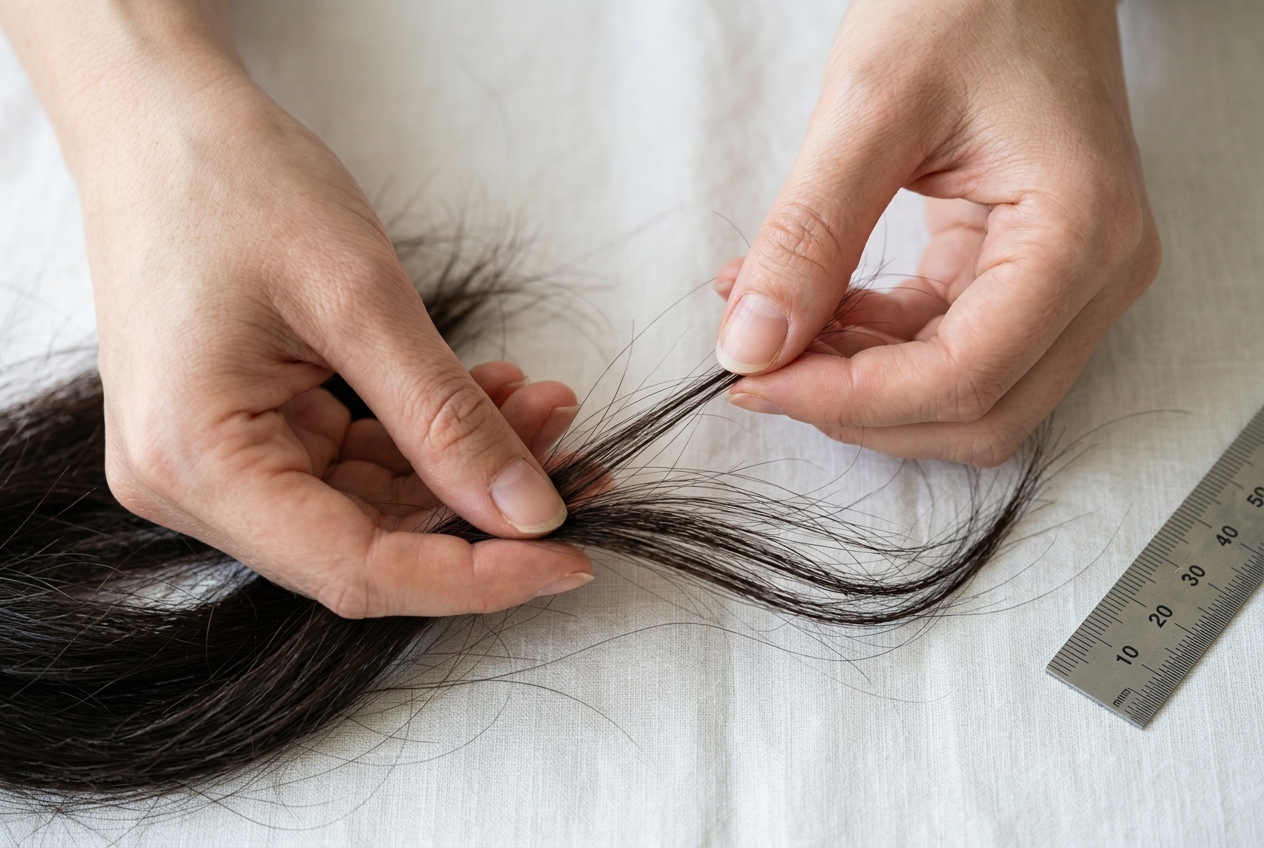
Appearance and fullness: Does the overall colour, fullness, and general condition match the listing description and photographs?
Ends: Are the tips of the strands relatively intact, or are there significant splits, breakage, or blunted ends? The condition of the ends can indicate post-collection processing, storage conditions, or the original quality of the donated hair.
Colour consistency: Does the colour appear reasonably consistent across the bundle or weft? Natural hair from a single donor source will have subtle variation, but significant patchy or inconsistent colouration may indicate mixing of different sources.
Step 2: Weight and Density
Weigh the sample if you have a suitable scale. A bundle described as 100g should be close to 100g in actual weight.
Density — how full the bundle or weft feels — and measured weight are related but separate assessments:
• Weight is a measurable quantity (grams). • Density/fullness refers to how substantial the product is in use — how full a weft looks when laid flat, or how a bundle feels in hand. • Draw (length distribution) refers to the proportion of strands at or near the stated length: single-drawn products contain strands of varying lengths producing a natural taper; double-drawn products have a higher proportion of strands at the stated length.
Assess each of these separately when documenting your findings.
Step 3: Cuticle Observation
Run a small section of the sample gently between your fingers from root to tip, then from tip to root. Hair strands that have consistently oriented cuticle scales will often produce a directional difference in feel — smoother in one direction, with slightly more resistance in the other.
A directional difference in feel can provide a practical indication of cuticle orientation, but it is not a definitive technical test of cuticle alignment. Other factors including strand texture, wave pattern, and product treatment can influence the result. Treat this as useful supporting information rather than a conclusive measurement.
Step 4: Shedding
Run a fine-tooth comb through a small section from root to tip. Some loose strands during initial combing are normal and expected — this is particularly true for loose bulk hair, or wefts that have been handled in transit.
What to assess: • The extent of shedding relative to the product type and construction • Whether shedding increases significantly after repeated combing passes • Whether the weft construction appears secure
Evaluate shedding against the product type and the supplier's specification rather than a universal fixed threshold, as acceptable levels vary by construction.
Step 5: Surface Treatment Observations
After dry inspection, note:
• Is the surface feel unusually uniform, slippery, or tacky in a way that seems inconsistent with uncoated hair? • Is there a strong chemical or artificial scent? • Does the appearance suggest a heavy coating?
These observations may indicate the presence of a surface treatment, but they cannot identify the specific treatment or ingredient used without laboratory analysis. Use them as prompts for further clarification with the supplier rather than as conclusions.
You can wash a small section with a clarifying shampoo and allow it to air dry, then reassess the texture and appearance. A noticeable change in feel, gloss, or manageability after washing may suggest that a surface treatment was affecting the pre-wash condition. This is a practical orientation check, not a definitive identification test.
Step 6: Wet Behaviour
Wet a small section and gently work through it with your fingers:
• Does the texture behave consistently with the product description once wet? • Is the hair manageable when wet, or does it tangle significantly beyond what the texture would suggest?
Excessive tangling when wet can be a reason to investigate fibre condition, processing history and cuticle condition more closely — but it should not be presented as a direct diagnosis of cuticle damage, as tangling can have multiple contributing causes.
Step 7: Compare Against the Specification
After your physical assessment, work through the supplier's listing systematically and document your findings. A sample is a practical evaluation reference — it is not an absolute guarantee of the characteristics of every future production lot.
Sample Evaluation Record — Practical Reference
Use the following framework to document your assessment:
Parameter | Sample Finding | Agreed Specification | Status Weight (g) | | | Length (cm/unstretched) | | | Texture | | | Natural colour | | | Cuticle observation (dry, directional feel) | | | Shedding (initial comb) | | | Tangling (wet) | | | Processing history (as stated) | | | Surface treatment observations | | | Notes | | |
For Status column, use: Pass / Review / Discrepancy / Confirm with Supplier
Step 8: What to Confirm Before a Bulk Order
If the sample meets your requirements, confirm the following in writing before proceeding:
1. Agreed specification: The bulk delivery should match the approved sample on all agreed parameters. State which characteristics must be consistent and which tolerances are acceptable.
2. Production source: Confirm whether the bulk order will be assembled from the same collection source or production run as the sample, or whether differences are expected.
3. Remedy process: Confirm in writing what process applies if the bulk delivery materially differs from the approved sample specification.
4. Packaging and transit: Confirm how the product will be packaged to prevent damage in transit, and the expected delivery timeline.
A well-documented sample evaluation provides a clear reference point for both buyer and supplier. It supports efficient resolution if a quality issue arises with the subsequent bulk order.